How to Make a Product Launch Video with Claude Code
To make a product launch video with Claude Code, install the Motionboard skill, describe your product, and let the agent plan a 4 to 6 shot film from 38 recipes, build each shot in HyperFrames and render it to MP4. The example film below has 6 shots and runs 15.8 seconds.
- 01Typing Animation (Typewriter Effect)Opening
- 023D Tilted UI with Depth of FieldProduct reveal
- 03Zoom-to-Cursor EffectFeatures
- 04Morph TransitionFeatures
- 05Match Cut TransitionTransitions
- 06Logo Wordmark RevealEnding
The film above is Motionboard's own launch film, cut into the 6 recipes it is made of. Each recipe page shows the shot next to the original launch-film clip it was recreated from.
Step 1: Install the skill
Run the install command once. -g installs the skill for all your projects, so Claude Code and Codex can use it from any folder.
npx skills add krisyangdev/motionboard -g -yRendering uses HyperFrames, which needs Node.js 22 or later and FFmpeg on your machine. The skill checks node --version and ffmpeg -version before it builds anything, and it stops with a message if one is missing. npm run check and the render also need network access, because HyperFrames fetches Google Fonts and GSAP from a CDN.
Step 2: Describe your product
Give the agent a link, a repository or a short description. The skill reads what it can from your repository: the product name, logo, brand colours, fonts and real screens. It asks once for whatever is missing. Have these ready:
- The product name and one sentence on what it does.
- The logo as an SVG or PNG file.
- Brand colours and the font, if you have one.
- Your strongest claims, in your own words.
The skill rebuilds your product's interface in HTML and CSS at the density of the recipe it adapts. Grey boxes, lorem ipsum and pasted screenshots are excluded by its rules.
Step 3: Plan the film from positions
The 38 recipes are grouped by where they sit in a launch film: Opening (7 recipes), Product reveal (7), Features (15), Transitions (5) and Ending (4). The skill proposes 4 to 6 shots in that order: one Opening, one Product reveal, one to three Features, optionally one Transition, and one Ending. A recipe is chosen when its mechanism shows something true about your product.
The agent shows the plan as a table with the shot, the recipe, what it shows for your product, the seconds and a link to the preview film. It waits for your confirmation before building. This is the moment to change a shot, cut the length or ask for another recipe.
Step 4: The six shots in the example film
Motionboard's launch film is 6 shots in 15.8 seconds. Each recipe is a film of about 10 seconds, and the example uses a segment of each:
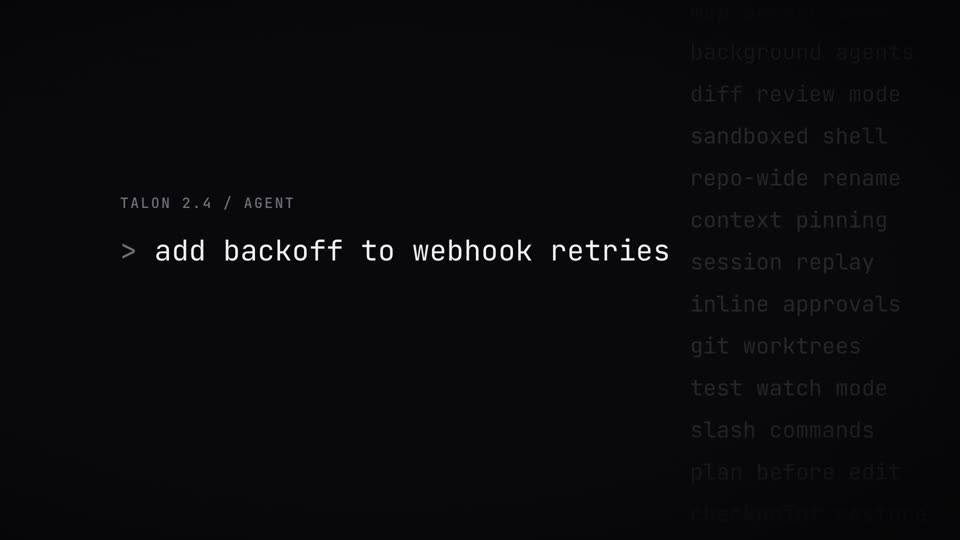
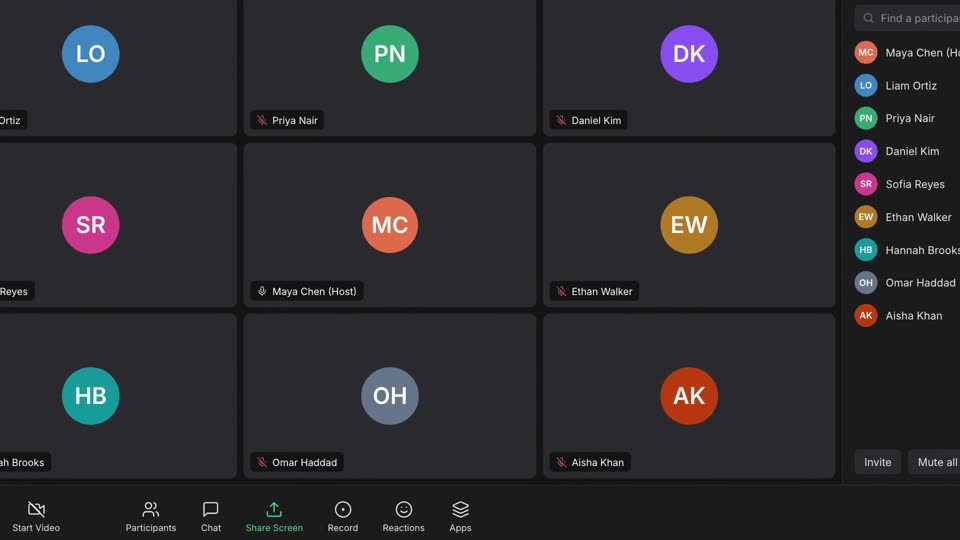
- 0 to 2.8 s, opening: Typing Animation (Typewriter Effect). Monospace text is typed character by character with a cursor at uneven human speed, then deleted and retyped.
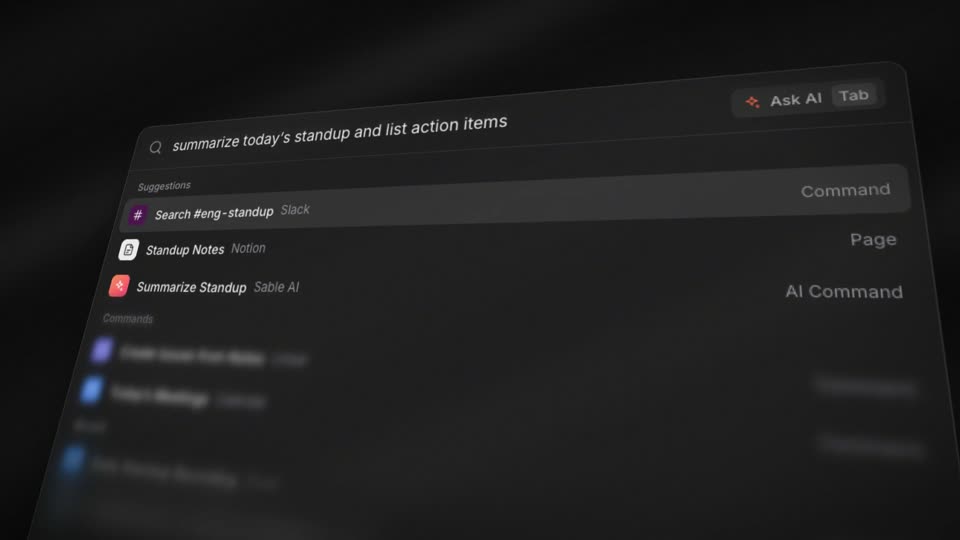
- 2.8 to 5.5 s, product reveal: 3D Tilted UI with Depth of Field. A UI plane tilted 10 to 15 degrees is shot up close, with only the active row in focus and the rest blurred.
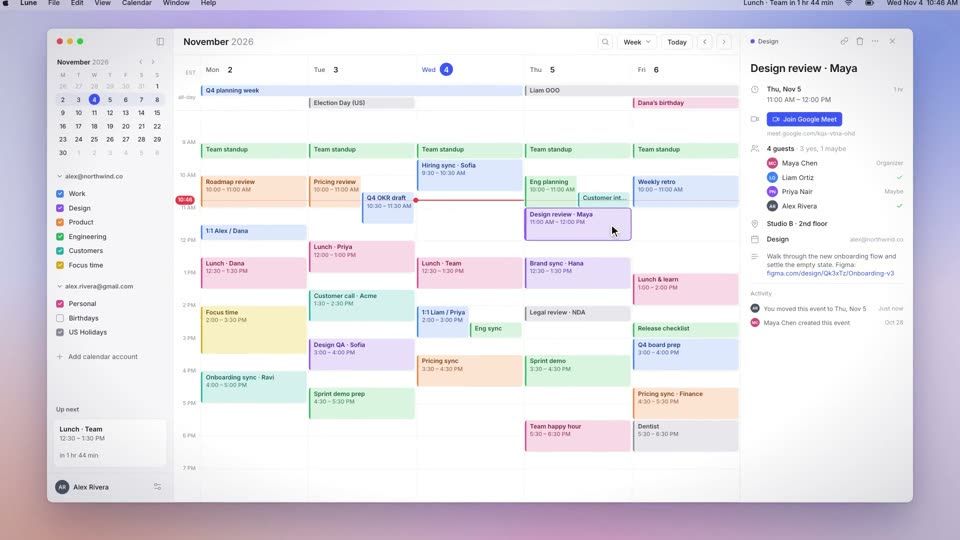
- 5.5 to 8.2 s, feature: Zoom-to-Cursor Effect. The camera pushes to the target element in 0.4 to 0.8 seconds, holds for one click or input, then pulls back to the full view.
- 8.2 to 10.6 s, feature: Morph Transition. One element keeps morphing into the next, so the sequence has no hard cut.
- 10.6 to 12.4 s, transition: Match Cut Transition. One object is replaced by another at the same anchor point, so the viewer's gaze stays in place.
- 12.4 to 15.8 s, ending: Logo Wordmark Reveal. A logo mark sits centred, then the wordmark unfolds from behind it, each letter sharpening from a 12 px blur.
Brand, colours and type stay identical across the shots. The agent builds each shot as its own HyperFrames project, adapts only the brand and UI layers of the recipe and keeps its timing and easing.
Step 5: Render with HyperFrames
Every shot is a project with the same scripts. Run the check once on the untouched copy, because some recipes report errors on purpose, for example dim text in blurred depth-of-field layers. After your edits, fix every error your changes add. The check takes about a minute.
npm run devnpm run checknpm run dev opens the preview in the HyperFrames studio, and npm run check runs the lint, layout and contrast checks. They wrap npx hyperframes preview, check and render. Render a draft while you iterate and the delivery quality for the final file. HyperFrames accepts draft, looks (the default), standard and high for --quality, and delivery is an alias of high.
npm run render -- --quality draftnpm run render -- --quality deliveryThe MP4 lands in renders/<project>_<timestamp>.mp4. For a whole film the skill joins the shot renders with hard cuts, or with a Transition recipe as its own shot, and re-encodes so the parts match. Music is added only when you ask.
ffmpeg -f concat -safe 0 -i list.txt -c:v libx264 -crf 14 -pix_fmt yuv420p -an launch-film.mp4Step 6: Check against the preview films
A shot is finished when it reaches the finish of its preview film on motionboard.app: timing, easing, camera, blur, depth, lighting and UI density. The skill renders the project, downloads the preview film and captures the same moments from both, taken from the beat times in the recipe's spec table. It compares each pair and fixes differences in timing, blur, shadow and scale. Only brand and UI content should differ.
npx --yes hyperframes@<version> snapshot --at 0.5,2.4,4.0,6.3,9.5 --against preview.mp4The agent ends with a short list of the parameters it changed for your product and the reason for each.
Step 7: Put it on a website instead
The same recipe works as a hero animation. Tell the agent that the motion is for your site. It ports the GSAP timeline from the recipe's index.html into your stack (React, Vue, Svelte or plain HTML), builds the same DOM and keeps the durations, delays and easings. The animation starts when the element scrolls into view. With prefers-reduced-motion: reduce it shows the final frame as a static state.
Shots from this film
Prompt to start with
Paste this into Claude Code from your project folder and replace the product details: "I'm launching Tasklane, a project tracker for design teams, at tasklane.app. Use the motionboard skill to plan a 15 second launch film for our website and X. Read this repository for the logo, the brand colours and the real screens, and ask me only for what you cannot find. Propose the shots as a table with the recipe, what each shot shows for Tasklane and the seconds, and wait for my confirmation. After I confirm, build every shot, run npm run check, render drafts, compare each shot against its preview film, then render at delivery quality and join the shots into launch-film.mp4."
For other kinds of video, see Claude Code video skills. For the framework comparison, see HyperFrames vs Remotion. Can Claude make videos? covers what Claude does without a skill.
How long should a product launch video be?
The Motionboard skill plans 4 to 6 shots, and its own launch film runs 6 shots in 15.8 seconds. Each recipe is about 10 seconds long and can be trimmed with your agreement. Other video skills target different lengths: HeyGen's motion-graphics makes pieces under about 10 seconds and Barty-Bart's explainer-high-energy makes 12 to 20 second promos. Set the length by where the video plays, and cut shots in the confirmation step.
Do I need After Effects?
No video editor is needed to make or render the film. HyperFrames renders HTML and GSAP to MP4 with Node.js 22 or later and FFmpeg, and the skill joins the shots with an ffmpeg command. You can still import the MP4 into an editor to add music or captions.
Can I use it commercially?
Yes. The Motionboard skill is MIT licensed, and its recipes and source files are free to use in your own work, including commercial launch films. HyperFrames is Apache-2.0. The skill ships its own recreations, and the recipe pages link to the original films on YouTube. Fonts, music, logos and footage you add keep their own licences.